Introduction
Trace is a tool to design apps directly in code.
How to use Trace
Here's step by step instructions on how to make the most out of trace.
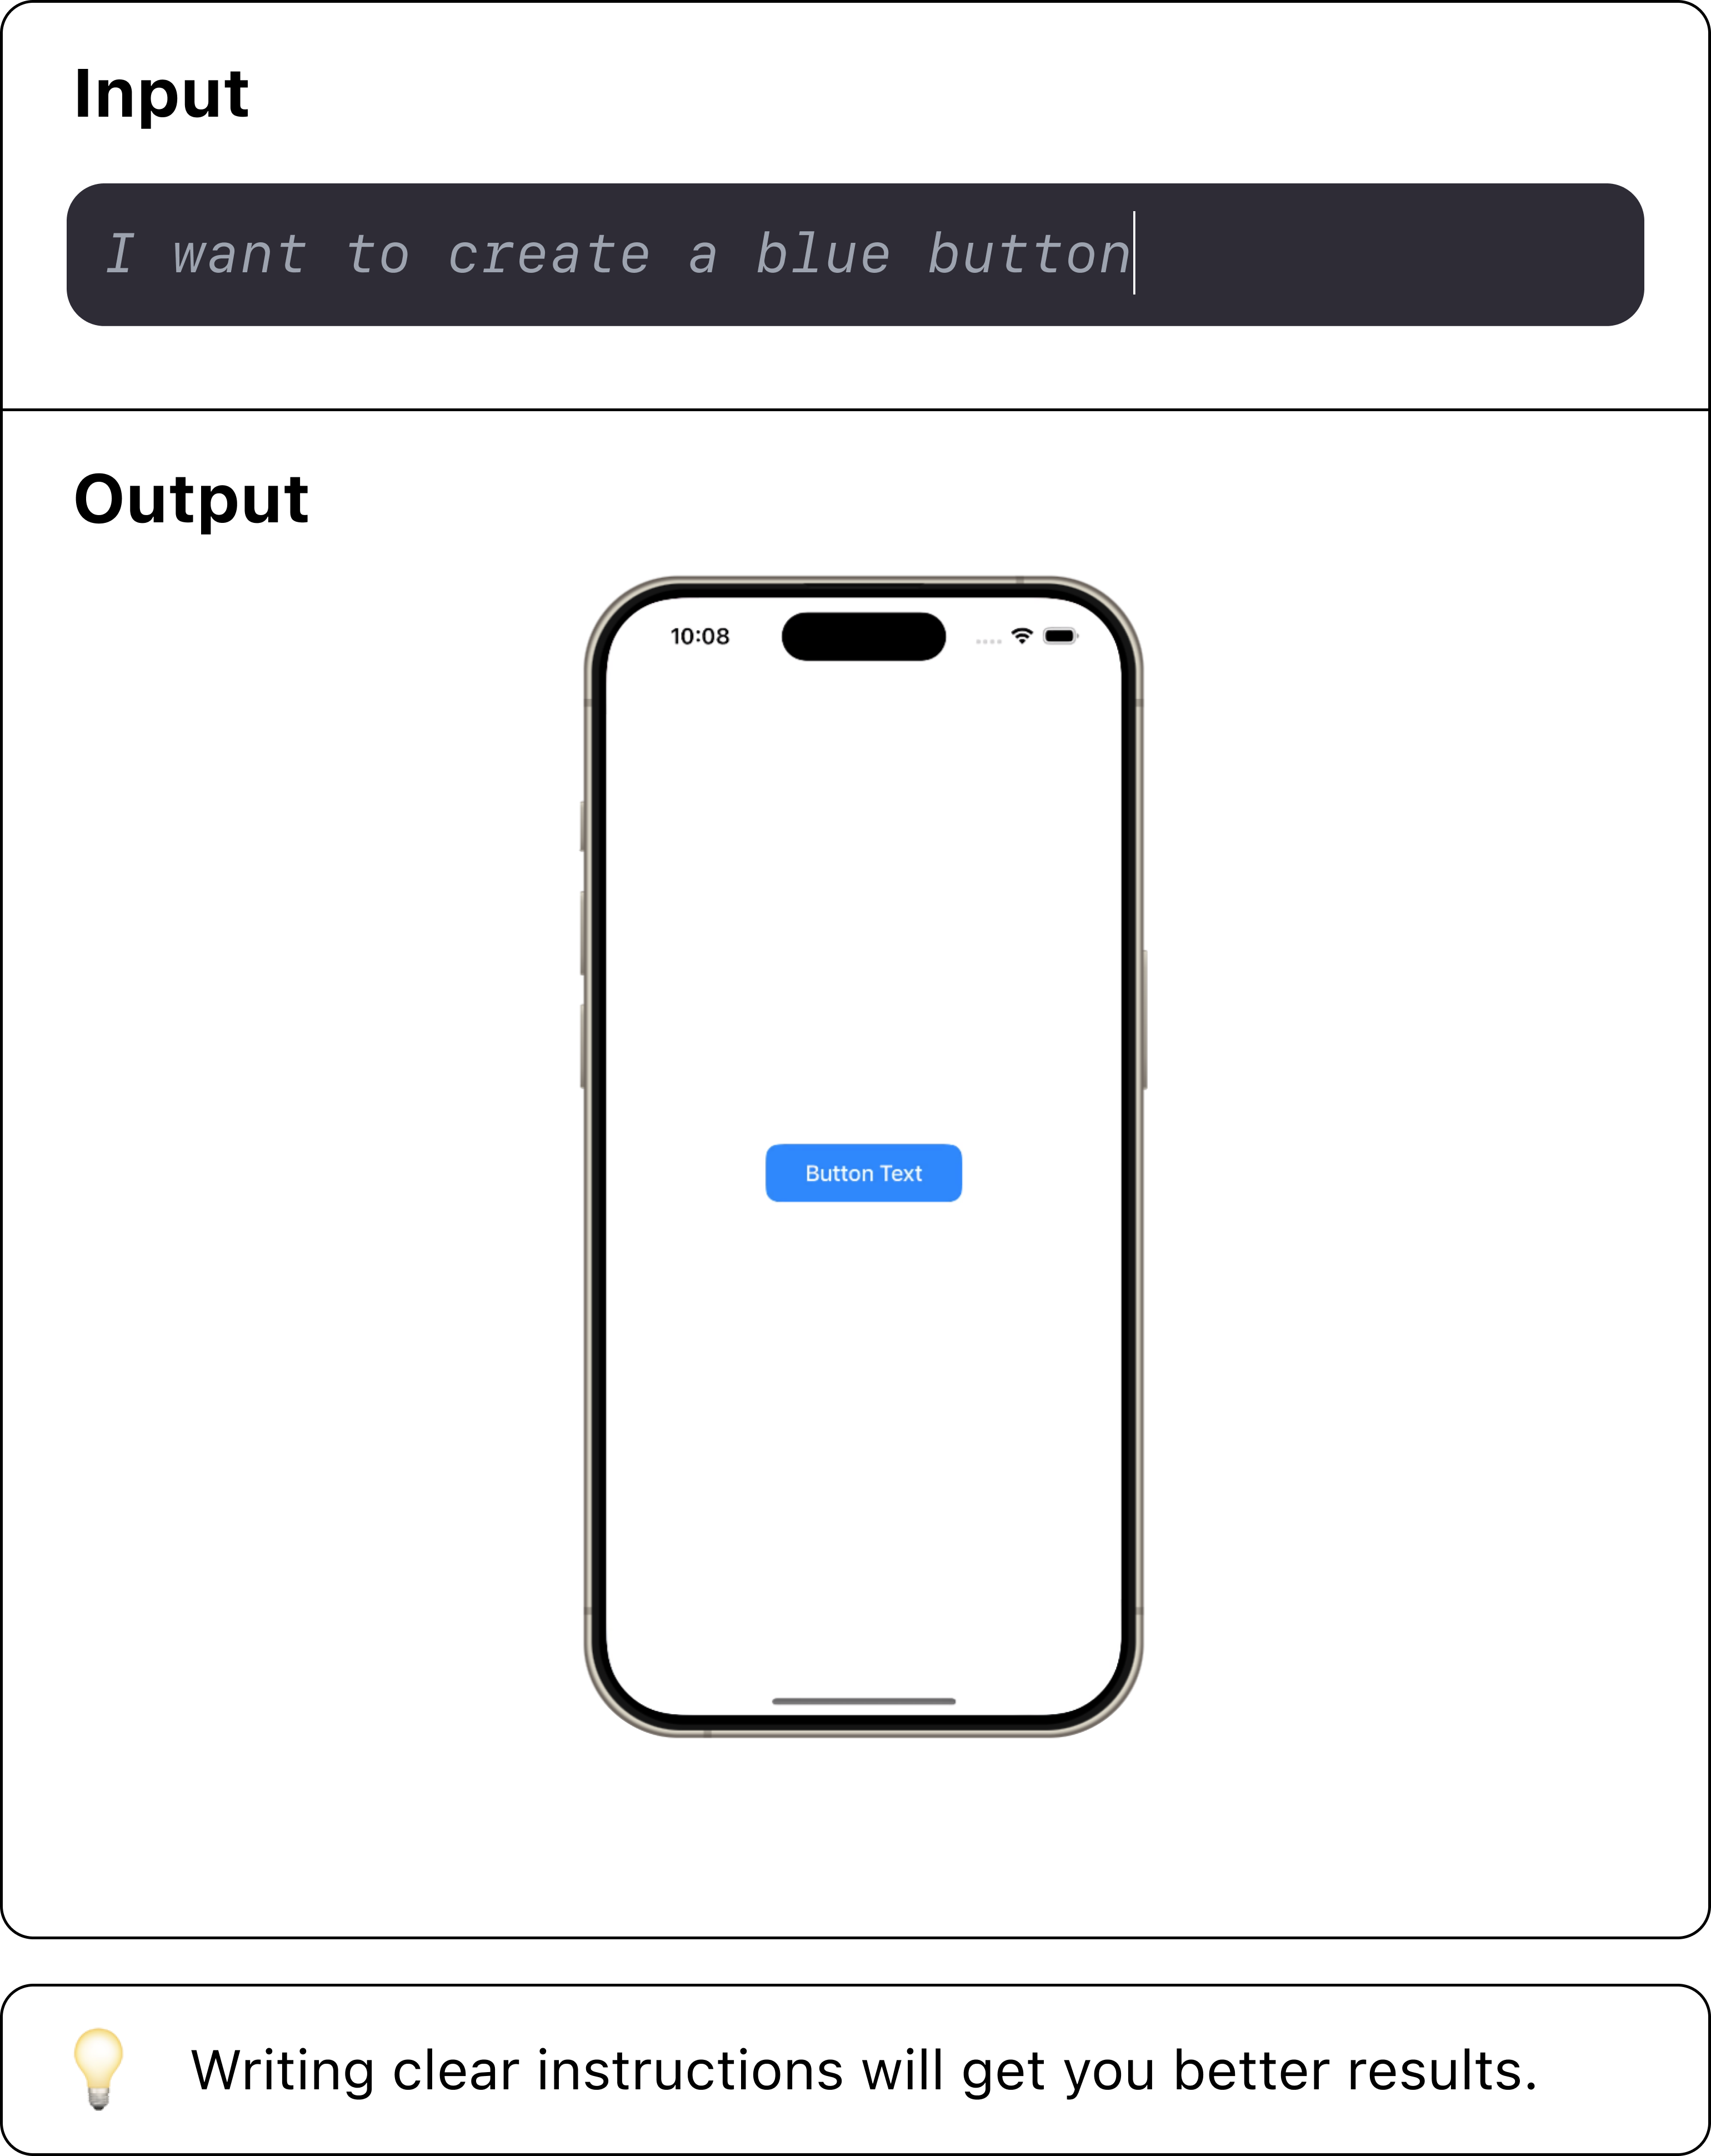
Ask and you shall recieve
To create a component, start by describing what you want your component to look like.
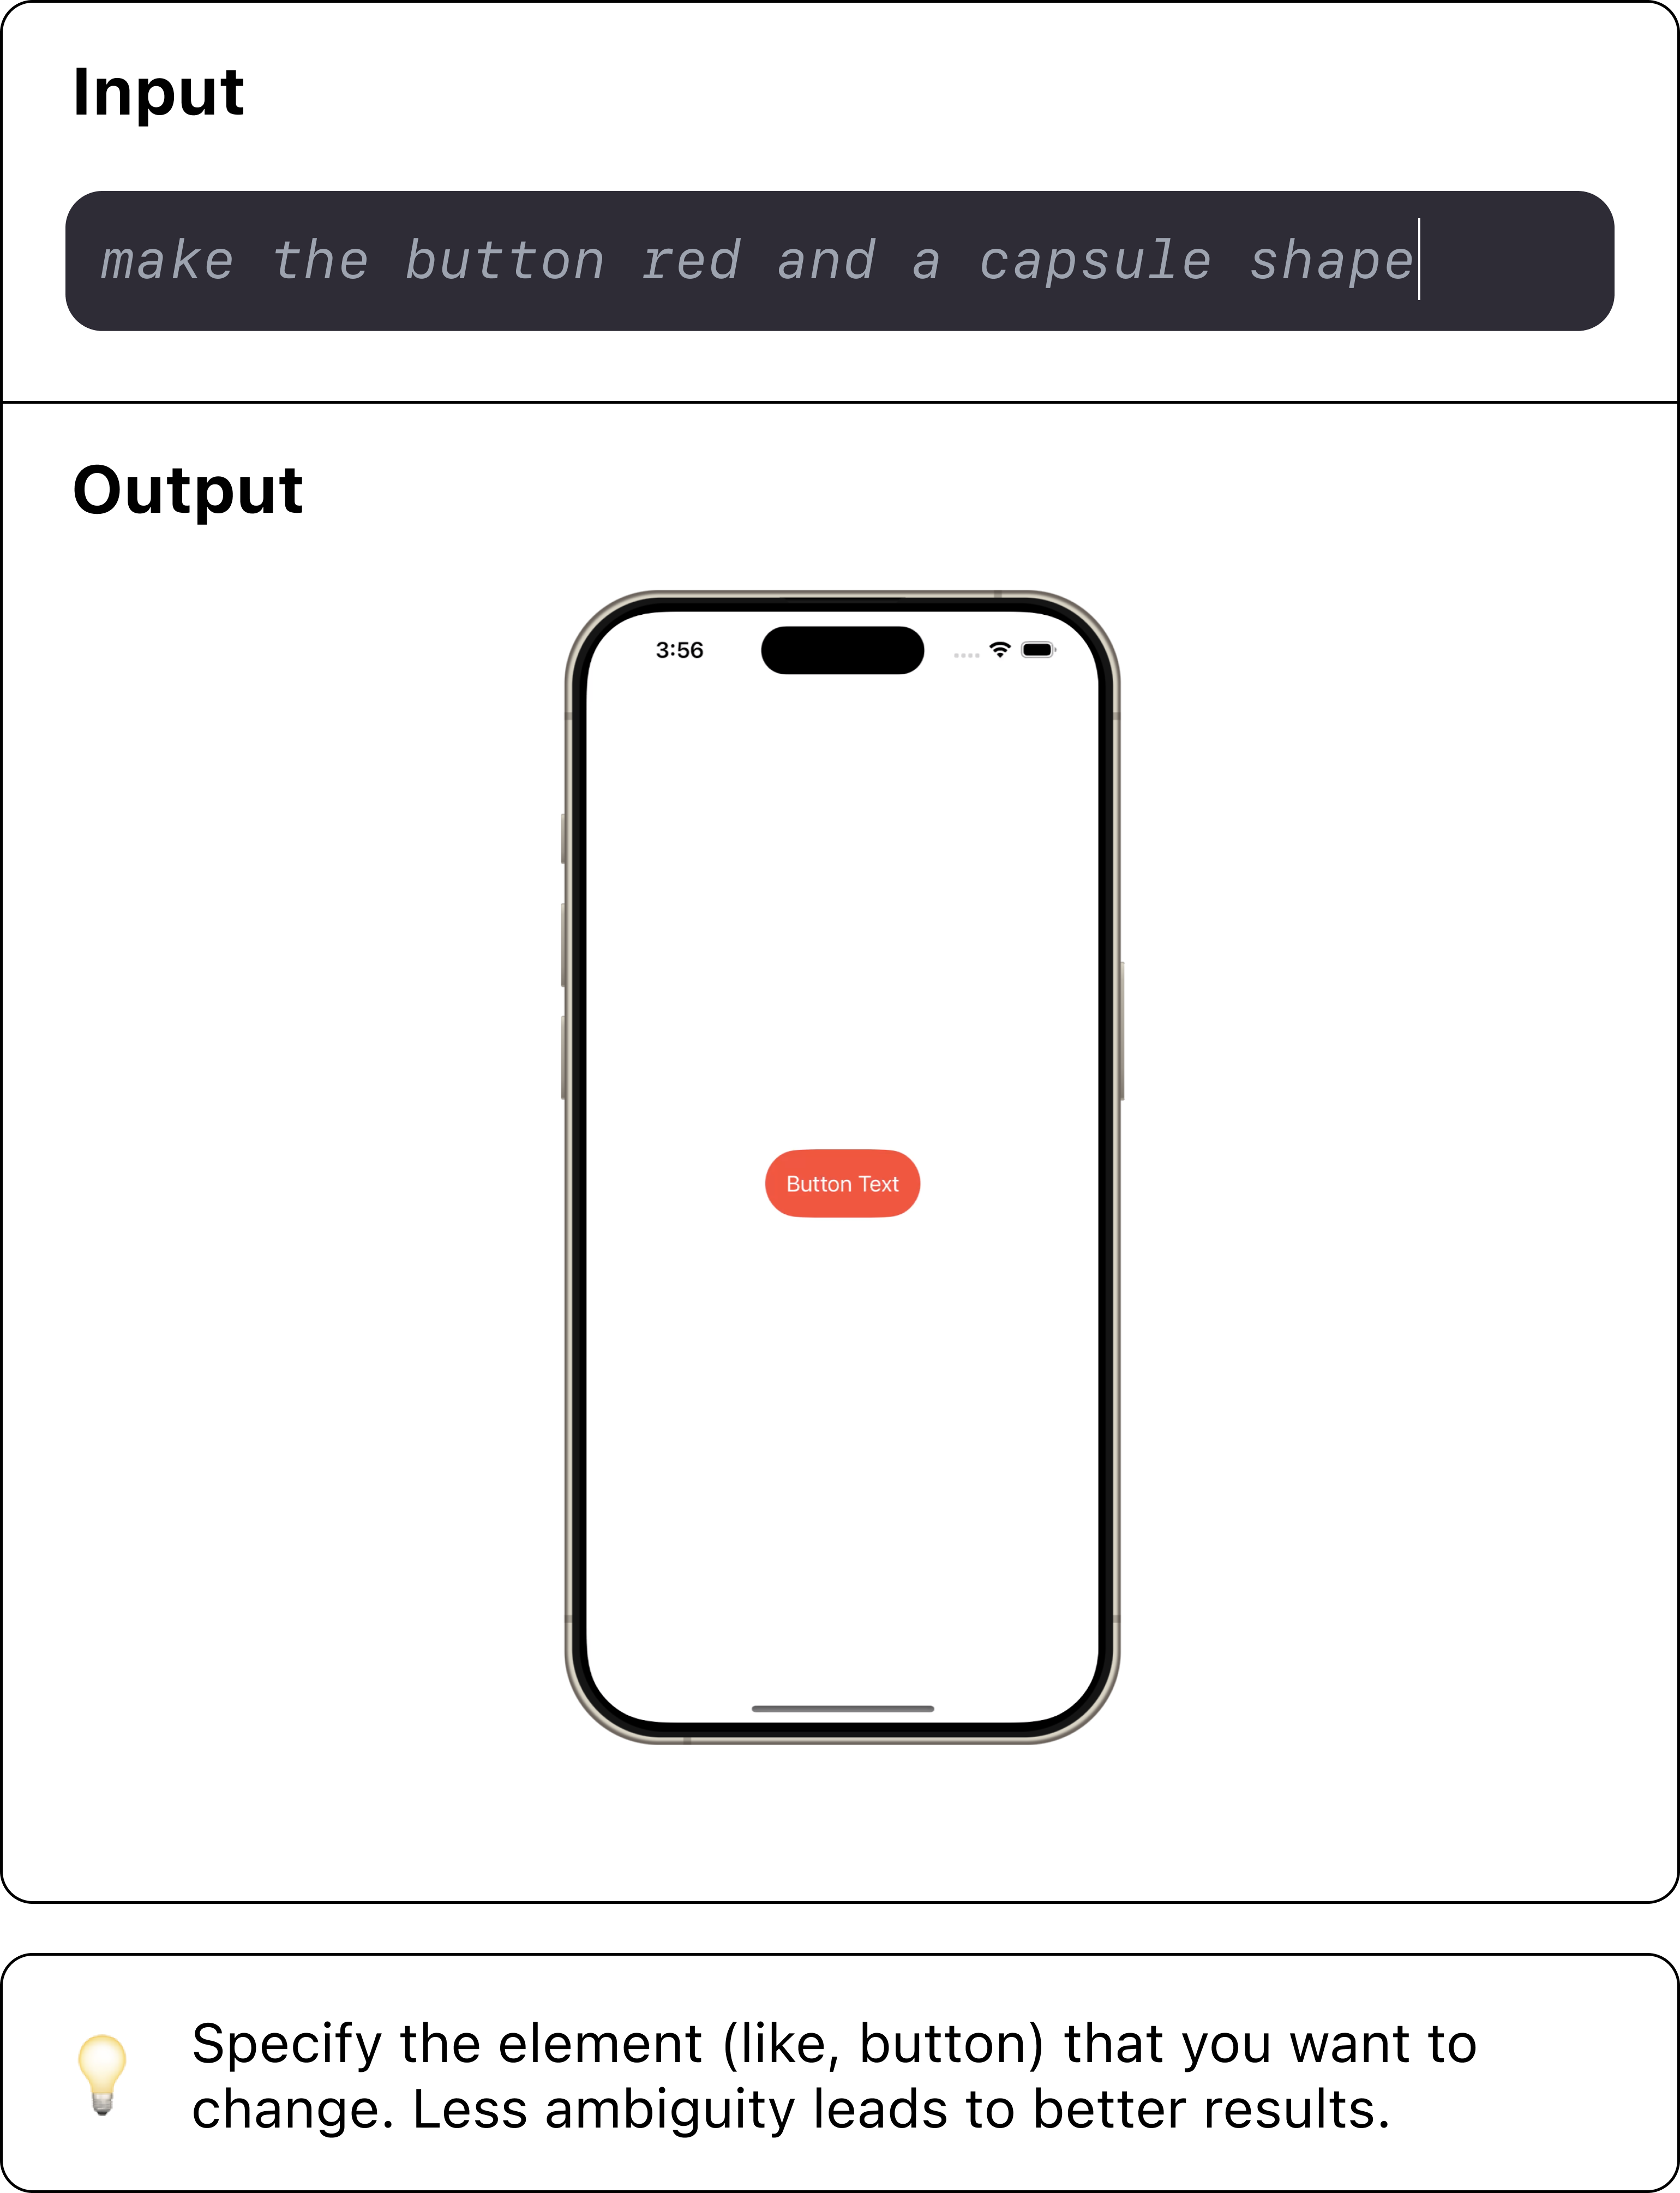
Iterate
To iterate on a component, specify what you want change about an component’s design, position, or layout. Trace builds on top of each generated version.
Examples of bad vs good instructions
When Creating a Simple Component
| Example Prompt | Description |
|---|---|
| ❌ "Make a home page." | Why It's Bad: This prompt is too broad. It doesn't specify what elements the home page should contain or its overall design and functionality. |
| ✅ "Create a home page layout with a top navigation bar, a welcome message in the center, and a tab bar with 4 icons at the bottom for home, search, notifications, and profile." | Why It's Good: This prompt clearly outlines the specific elements for the home page, including their placement and function, providing a focused direction for creation. |
When Creating a Complex Component
| Example Prompt | Description |
|---|---|
| ❌ "I want to make a fully functional chat app" | Why It's Bad: The prompt is too ambitious and lacks specifics. Building a "fully functional chat app" involves numerous components and complex functionality that can't be adequately addressed in a single prompt. |
| ✅ "Create the chat interface, including a text input field, a send button, and a scrolling view for displaying messages" | Why It's Good: The prompt specifies the existing component (list of nearby users) and describes a clear and focused addition (tapping on a name to view details). |
Integrating Functionality into a Component
| Example Prompt | Description |
|---|---|
| ❌ "Add some cool features to my app." | Why It's Bad: The prompt is too vague and doesn't specify what kind of features are considered 'cool' or appropriate for the app. |
| ✅ "Add a feature to the travel app where users can mark their favorite destinations, and these are then highlighted on a map view within the app" | Why It's Good: This prompt is specific about the feature (marking favorite destinations and highlighting them on a map) |
Video Tutorials
How to create on Trace:
How to run on device:
How to export xcode project:
Frequently Asked Questions
Download File
This will let you download a swift file that you can add to an existing project in Xcode.
• Step 1: In the editor, click on the Download  button in the top right.
• Step 2: Select the  Swift File option.
Download Project
This will let you download a whole Xcode project that you can use.
• Step 1: In the editor, click on the Download button in the top right.
• Step 2: Select the  Xcode Project option.
Connect to Github
Trace offers a github integration, assuming you've signed up with Github. Using this integration, you can create a project and directly push commits to the main branch.
Note: This will only affect the main branch so use wisely.
• Step 1: In the editor, click on the Download button in the top right.
• Step 2: Select the  Push to Github option.
• Step 3: Enter the name of the repository.
If there's an existing repository with the name, we'll try to push to it. Otherwise a new repo will be created. The repository name you provide here is automatically saved, so when you edit the project in the future or commmit later, it should be there.
• Step 4: Enter a commit message.
• Step 5: Click on  Commit & Push button in the commit message field and wait for the magic to happen.
Run on device
🕐 Estimated Time: 5 min.
Prerequisites
Understanding Code Signing
You can totally skip this, but it'll help to understand.
Code signing is essentially the process by which your apps are authorized to run on your devices. Trace facilitates this automatically by signing things on your behalf, granted you provide us with the correct files. These files are generated by Apple and are unique to your account. We'll walk you through the process of generating these files below. If you really want to get into the weeds of code signing, you can read more about it here and in even more detail, here.
Warning: Make sure you have your devices added to your account, or you'll have to do this whole thing again.
1. Creating A Certificate
If you already have a certificate in your account, feel free to skip ahead to the next step, however it might be smoothest to just create a new one.
- • To create a certificate, head to Apple's Certificate Management Page.
- • Select "Apple Development" and continue.
- • Open the Keychain Access App on your Mac.
- • Select the login keychain from the left side panel.
- • Select My Certificates.
- • Go to Keychain Access → Certificate Assistant → Request a Certificate From a Certificate Authority from the menu bar (the one with the symbol)
- • Enter your email address and a name for the certificate, select "Saved to Disk" for the "Request is" option, and continue to save the .certSigningRequest file to a place of your choosing.
- • Upload the .certSigningRequest file to the Apple Developer Portal and click continue.
- • Download the certificate (.cer) and double click it to install it on your Mac.
2. Creating .p12 File
This step requires you to have a certificate in your account and installed on your Mac.
- • Open the Keychain Access App on your Mac.
- • Select the login keychain from the left side panel.
- • Select My Certificates.
- • Find the developer certificate you created and added in "1. Creating A Certificate". (Or a pre-existing valid certificate.)
- • Right click on the certificate and select Export "Your Certificate"...
- • When prompted to enter a password, just hit OK and continue without a password.
- • Save your private key (.p12) to a secure location.
3. Creating Provisioning Profile
If you created a new certificate in "1. Creating A Certificate", you'll need a new provisioning profile as well.
You may already have provisioning profiles in your account, we need one that supports a wildcard identity.
- • Select iOS App Development here and press continue
- • Under the App ID dropdown, search for "Xcode iOS Wildcard App ID". Select it and continue.
- • Select the certificate you'd like to use and hit continue.
- If you followed Step 1, this will be the certificate you just created.
- If you're unsure, you can select all the available certificates and our build system will try each one till we can provide you with an installation, however this will slow down the process.
- • Select all the devices on your account that you'd like to be able to run builds on, and continue.
- • Give your profile a name, click on Generate, and download your .mobileprovision file.
At this point, you should have all the files you need to run on device via the Trace interface, and if you've done it right, you won't ever have to do it again*. Once you hit "Go!" we should be able to "brew an IPA" 😉 for your test device and there should be a QR code that'll let you install the app to your device. If you're unsure, please don't hesitate to reach out to us via the little chat icon on our home page in the bottom right, or on our discord.
*you'll have to do step 3 again if you add a new device to your account. 🤥
Adding a new device
- • To add a new device, head to this page in your Apple Developer Account, follow the steps outlined on the page, and go to Step 3 in this guide.
- • When you get a new test device, or you want to have your demo run on a friend or coworker's device, you're going to have to add that device to your account, create a new provisioning profile, and upload that via the device run interface.
- • We did tell you not to skip this, and if you're reading this we're glad you didn't, but depending on your device situation and whether or not you've already run on a device in the past, you might not actually need to do this.